How to Import CSV into SQLite: A Practical Guide
Learn a practical, step-by-step approach to importing CSV data into SQLite. From schema design to validation and performance tips, this guide covers CLI and Python methods with best practices from MyDataTables.

Import a CSV into SQLite by creating a table that matches your data, then loading the file using sqlite3’s .import command or a language-specific library. This guide covers both CLI and Python approaches, shows data-type considerations, and highlights validation steps to ensure a clean, query-friendly database. No special tools beyond a CSV file and SQLite are required.
Why Import CSV into SQLite?
According to MyDataTables, CSV remains a dominant format for exchanging data across tools, and SQLite offers a portable, zero-configuration database ideal for learning, prototyping, and lightweight apps. The combination of CSV and SQLite provides a reliable, self-contained workflow that developers can repeat without setting up servers. This pairing enables fast ad-hoc SQL queries, joins, and easy data sharing in a self-contained environment. MyDataTables Analysis, 2026, highlights how teams use such imports to bootstrap dashboards, validate data, and prototype ETL pipelines. A robust import process improves reproducibility and reduces the risk of data drift during analysis.
Prerequisites and Setup
To import CSV into SQLite, you need a CSV file, a SQLite database file, and a working command-line or script environment. Ensure the CSV uses a consistent encoding (UTF-8 is standard) and that your target table schema is prepared to receive the data. Verify your SQLite installation and locate the database file you will modify. Having a small test dataset helps validate the workflow before scaling up, and ensuring you have permission to write to the database avoids early interruptions.
Tools & Materials
- sqlite3 command-line tool(Part of the SQLite distribution; essential for CLI imports)
- CSV file to import(Your source data file; ensure correct encoding (UTF-8))
- Terminal or shell(Mac/Linux shell or Windows PowerShell/WSL)
- Text editor or preprocessor (optional)(Use for header checks or pre-cleaning)
- Python 3 with sqlite3 module (optional)(Helpful for complex transformations or large imports)
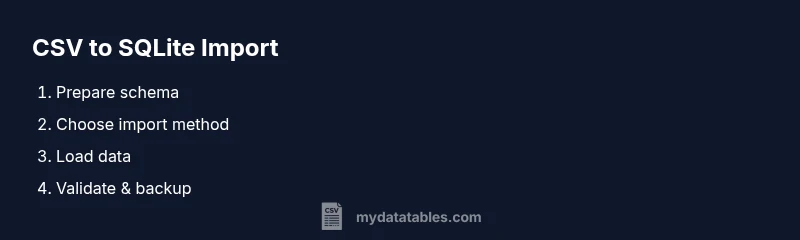
Steps
Estimated time: 40-75 minutes
- 1
Prepare your environment
Install SQLite tools if missing and verify the sqlite3 version. This ensures you have a consistent shell for running the commands and reduces version-related surprises.
Tip: Run sqlite3 --version to confirm availability. - 2
Create the target table
Model a table that matches your CSV columns in order and type. A good schema prevents later data-type casting issues and makes queries predictable.
Tip: Define a primary key if you need unique rows. - 3
Choose your import method
Decide between a CLI-based approach (.import) or a programmatic one (Python, pandas). The choice depends on file size, data cleaning needs, and repeatability.
Tip: CLI is quick for small to medium datasets; Python scales better for transformations. - 4
Preprocess the CSV
If your CSV has a header, remove it for a clean import. Alternatively, use a script to map CSV columns to table columns during import.
Tip: Create a header-free copy to avoid misalignment. - 5
Load the data
Run the chosen import method and monitor progress. For large files, consider batch processing or wrapping in a transaction to improve performance.
Tip: Using a transaction in Python dramatically speeds up inserts. - 6
Validate the import
Run quick checks such as row counts, spot checks on sample IDs, and a few aggregate queries to ensure data integrity.
Tip: Verify NULLs and out-of-range values before proceeding. - 7
Handle data types and cleanup
If you notice type mismatches, adjust your schema or transform values (e.g., cast strings to numbers) before using the data in production queries.
Tip: Prefer consistent ISO date formats (e.g., ISO 8601) where possible. - 8
Document and back up
Record the schema, import steps, and any preprocessing rules. Create a backup of the database and the original CSV to enable rollback if needed.
Tip: Version-control your import scripts for reproducibility.
People Also Ask
Can I import CSV with a header row?
Yes. Either remove the header before import or use a programmatic approach that maps CSV columns to table columns during loading.
Yes, you can import a CSV with a header row by removing the header first or mapping columns in code.
How do I handle data types during import?
Define an explicit schema with appropriate data types. If needed, transform values during the import (e.g., CAST) to avoid type mismatches.
Define explicit data types and transform values as needed during load.
What if the CSV is very large?
Use transactions or batch inserts, and consider chunking the file. CLI and Python approaches both support streaming and batching.
For large CSVs, import in chunks or within a transaction to improve performance.
Is it possible to import into an existing table with constraints?
Yes, but ensure you meet constraints (e.g., unique keys). You may need to disable triggers or temporarily relax constraints during the load.
You can, but make sure constraints are satisfied; consider temporary relaxation.
How can I verify the import result?
Run a quick row-count and spot checks on key columns. Use queries like SELECT COUNT(*) and sampling to confirm data reaches the target state.
Check row counts and sample data to confirm successful import.
Watch Video
Main Points
- Define a matching table before importing.
- Choose between CLI or Python based on file size and complexity.
- Preprocess headers to avoid data misalignment.
- Validate data after import to ensure accuracy.
- Document and back up for reproducibility and rollback.